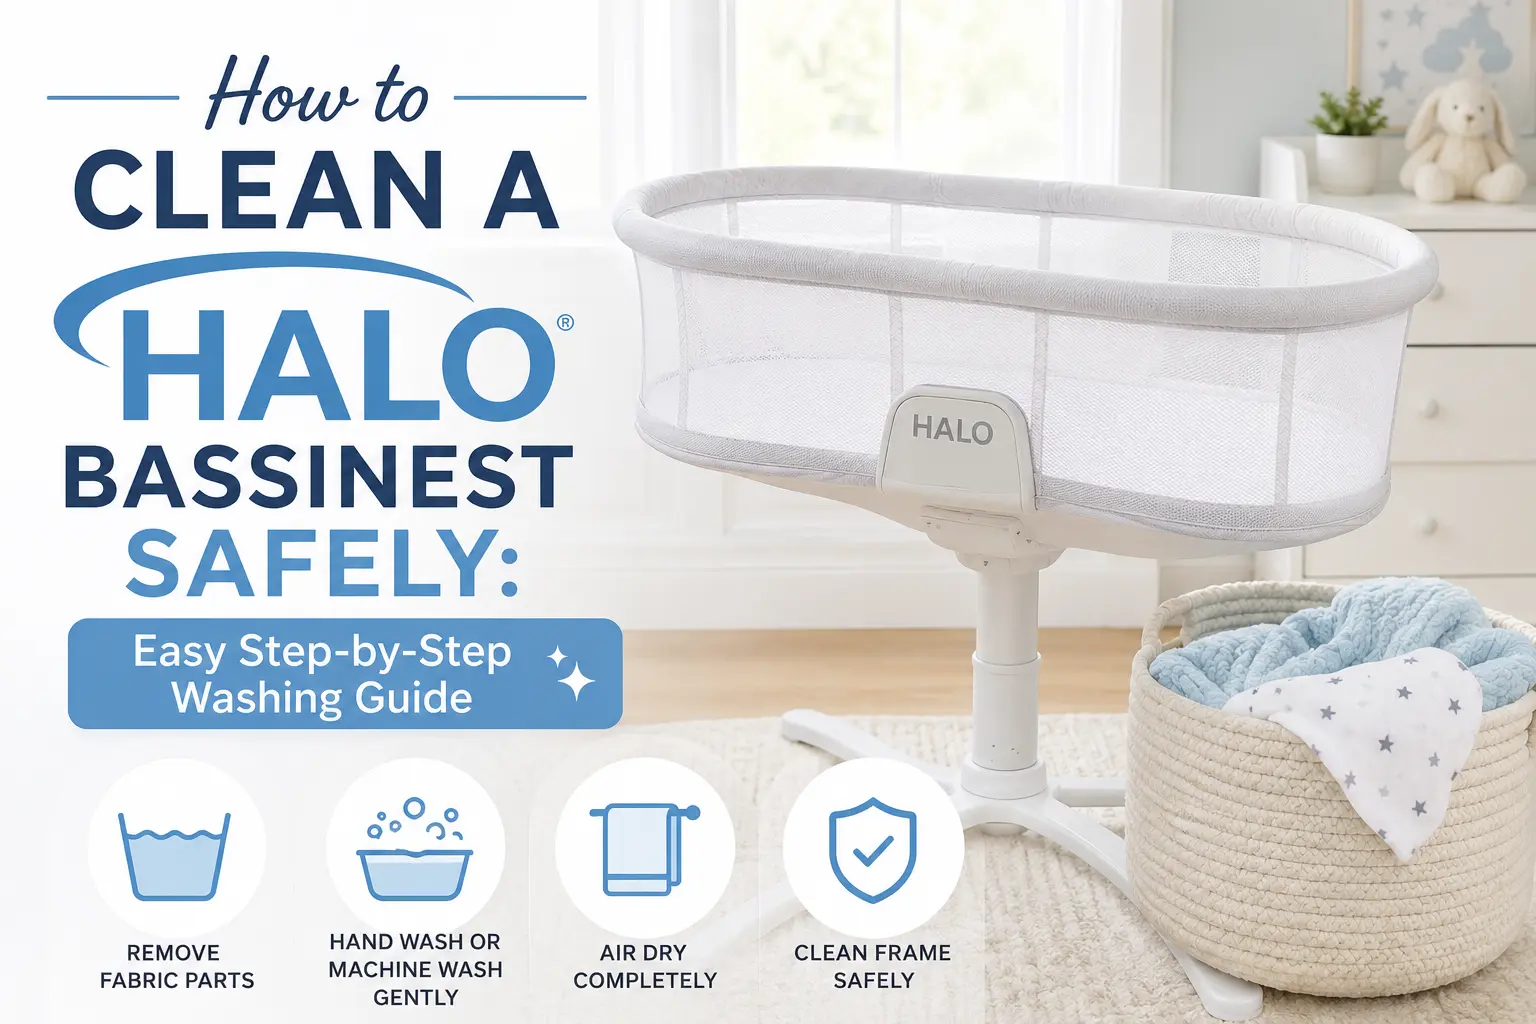
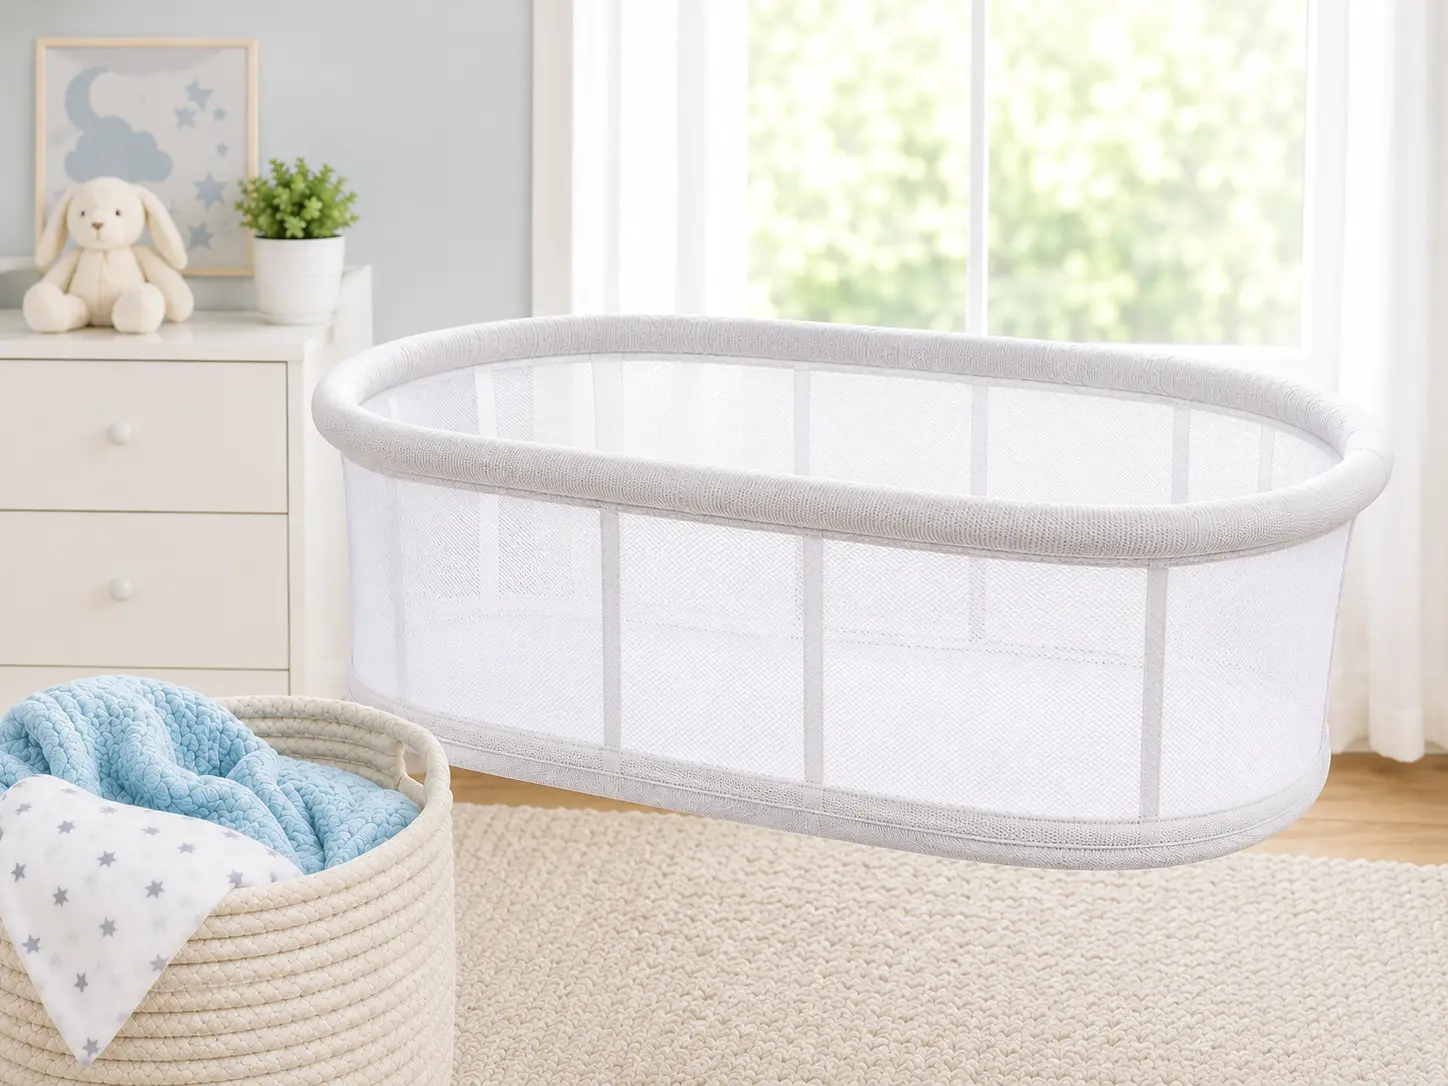
How to Clean a Halo Bassinest Safely: Easy Step-by-Step Washing Guide
For your baby’s safety, keep your Halo Bassinest clean to ensure that it provides a hygienic sleeping environment. A few simple tools and a little patience will allow you to remove and wash the fabric portion of the bassinet. The Halo Bassinest disassembles, is washed, and then reassembled according to the instructions provided in this guide.
What You’ll Need
Here are the items you will need before you begin:
-
Phillips head screwdriver
-
Small plastic bag or container for screws and parts
-
Washing machine
Step 1: Remove the Bottom Metal Base
In order to install the bassinet, you must locate the six screws arranged in a circular arrangement on the bottom.
-
All six screws should be removed with the help of a Phillips head screwdriver.
-
Take care not to damage the metal base plate when lifting it off.
-
You should place the screws in a plastic bag so they don’t get lost.
Maintaining an organized screw collection will make reassembly easier in the future.
Step 2: Remove the Side Plastic Screws
In the next step, you will need to locate the two screws attached to the white plastic side pieces.
-
It is necessary to remove both screws.
-
Keep them with the other hardware in a safe place.
During disassembly, these pieces will need to be removed.

Step 3: Remove the White Plastic Bottom Piece
On the inside of the bassinet, there are three screws that hold the white plastic component in place.
-
Remove all three screws.
-
Completely remove the plastic piece.
-
Reassemble the plastic part and screws.
Step 4: Detach the Fabric Sides
Side Velcro fasteners secure the fabric.
-
Make sure all Velcro sections are unfastened.
-
By doing so, you will be able to see the small metal locking mechanisms underneath.
It will be possible to access the support bars once the support bars are exposed.
Step 5: Remove the Metal Support Bars
There are small tabs that lock the metal bars into place.
-
Make sure the metal tabs are pushed inward.
-
Remove the metal bars from the fabric sleeves by carefully sliding them out.
You may need a few tries to figure out how the mechanism works before you become comfortable with it.
Important Tip
There is a slight difference in length between one side of the bassinet and the other. Remember which bars belong on each side before you remove them. Reassembly will be faster this way.
Step 6: Remove the Plastic Connectors and Cardboard Insert
When the support bars have been removed:
-
The small plastic connectors should be pulled out by pinching them.
-
The cardboard insert must be removed from the fabric.
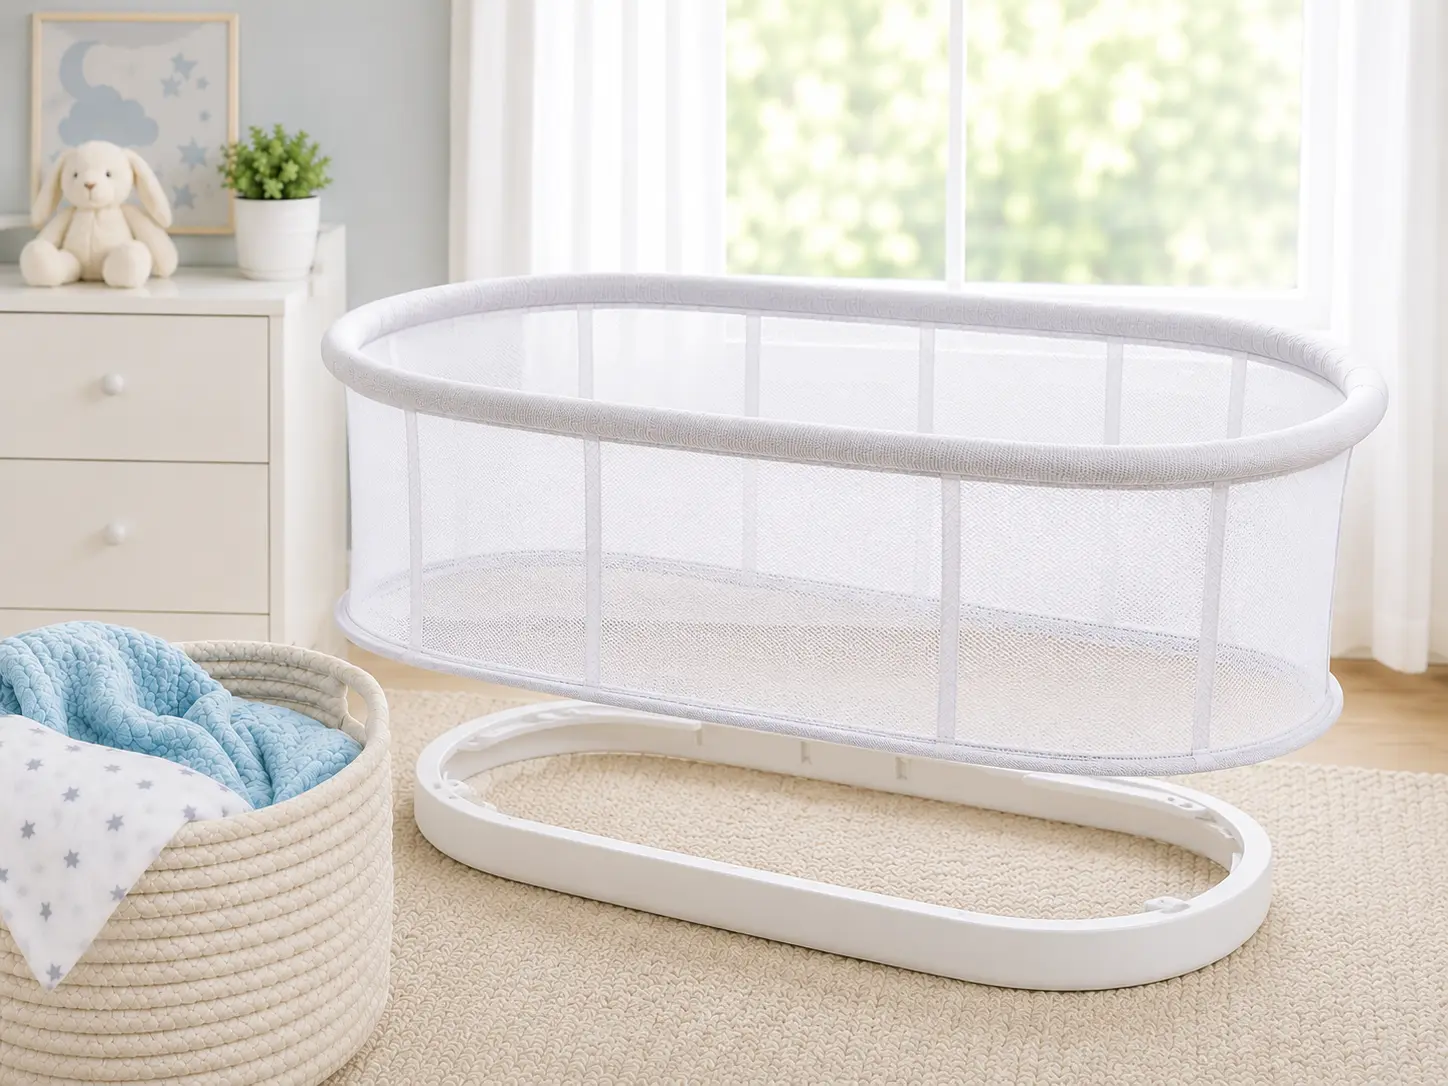
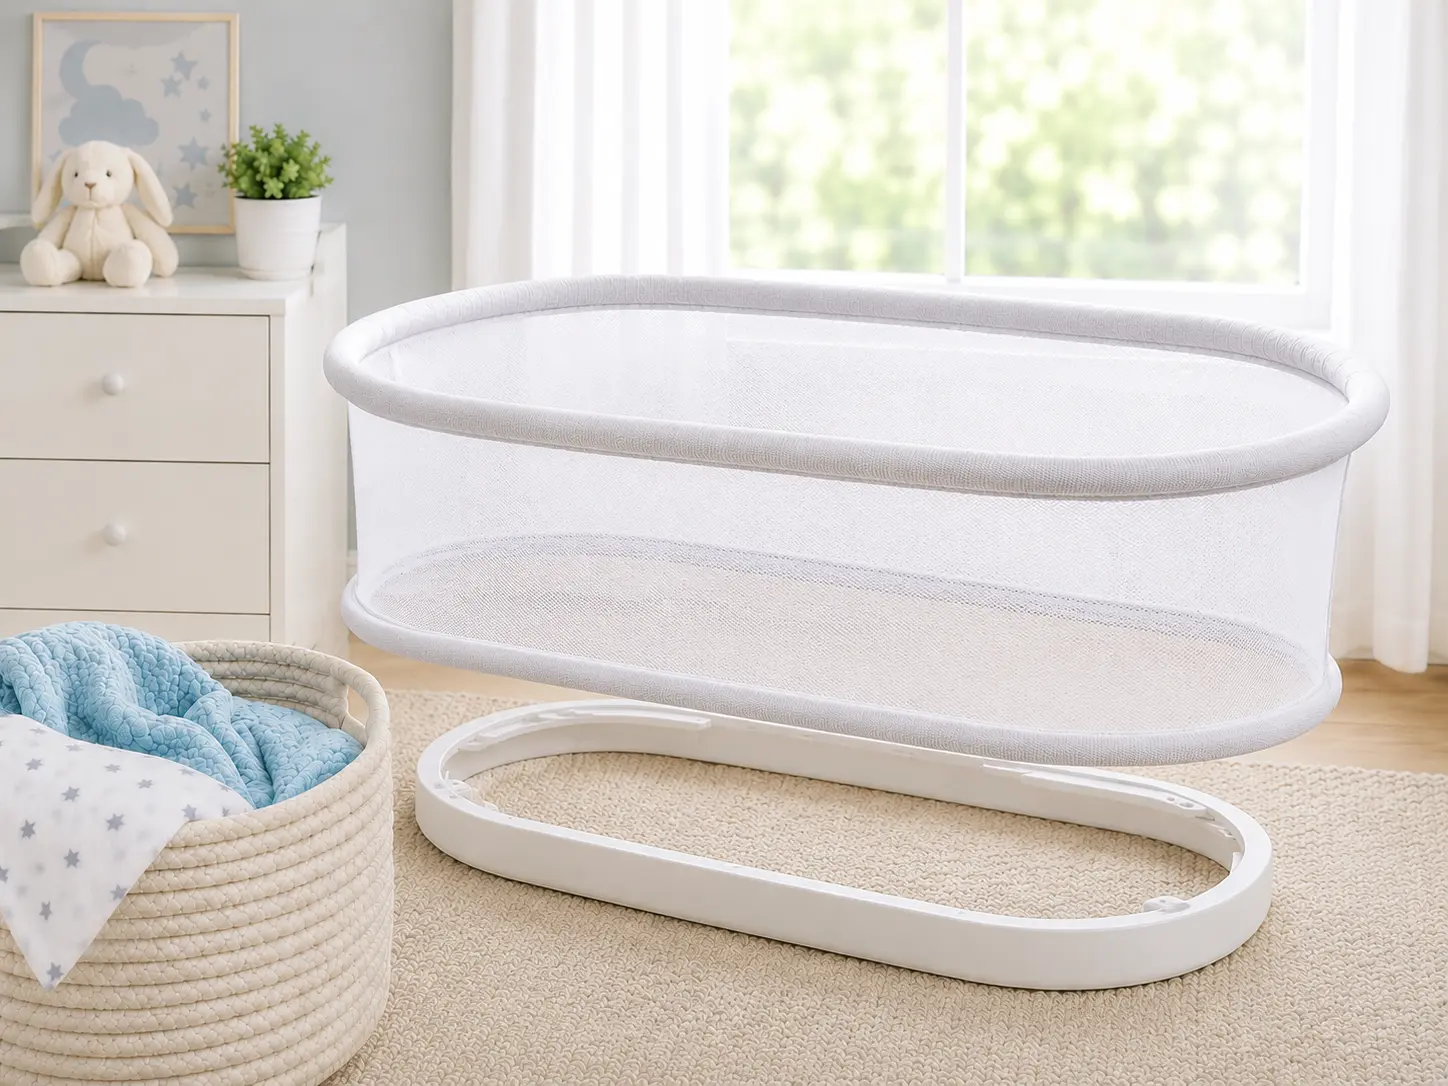
By removing these components, you can completely separate the fabric section from the frame.
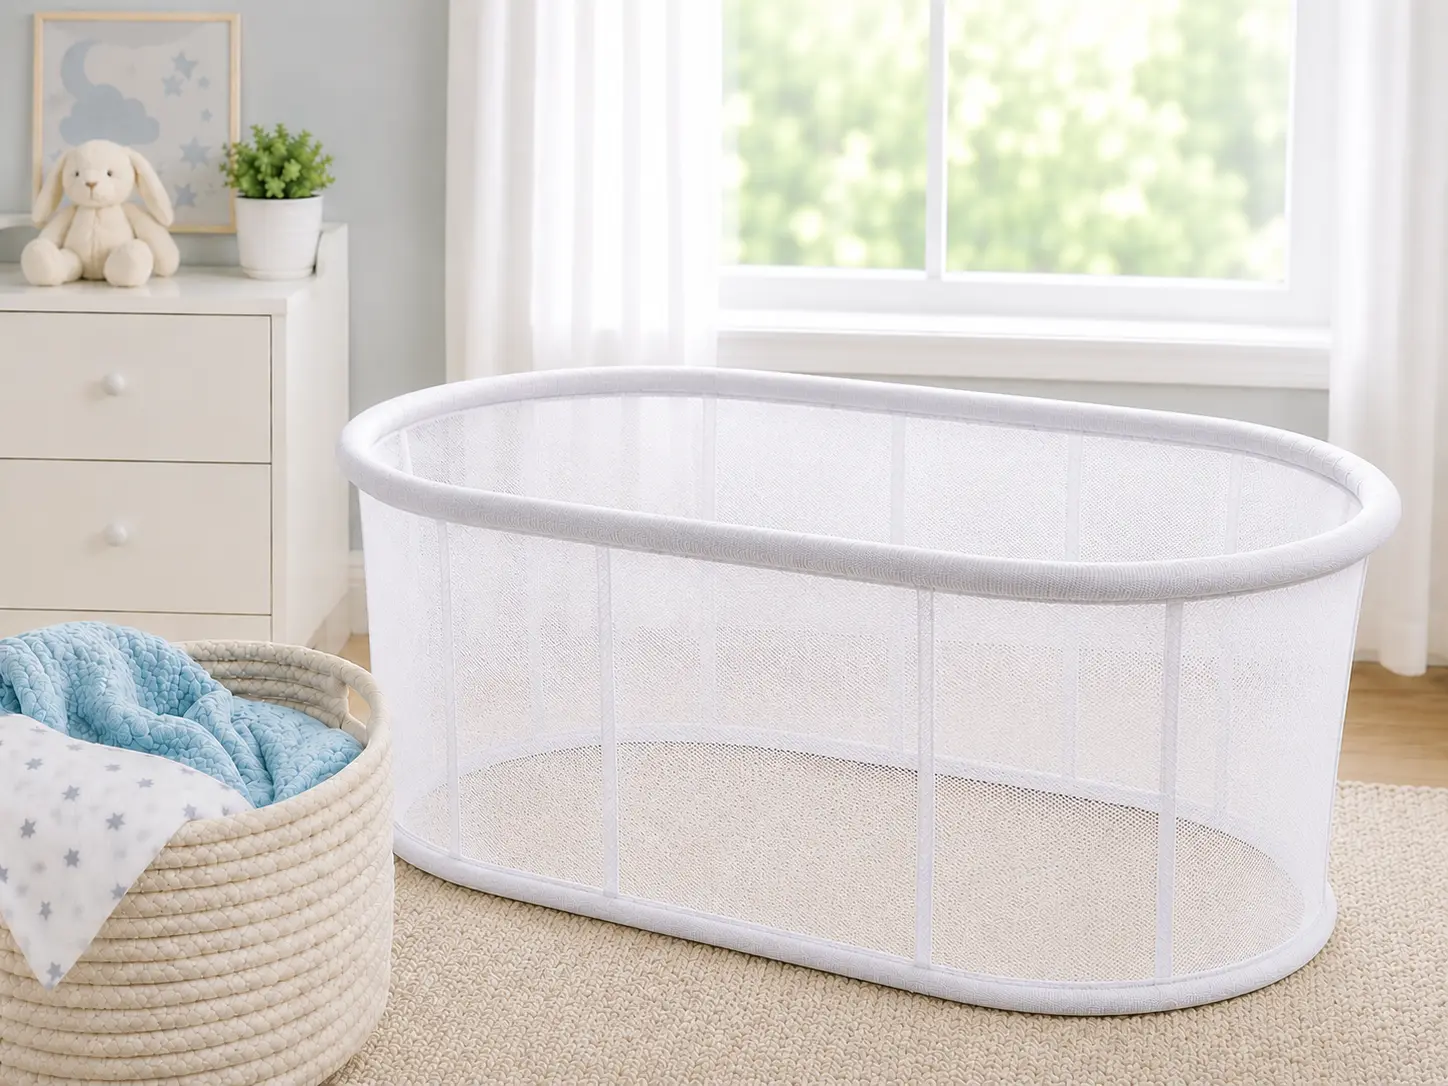
Step 7: Wash the Fabric
Having detached the fabric cover:
-
Your washing machine should be set to wash the fabric piece.
-
If available, follow the manufacturer’s care instructions.
-
Reassemble the fabric after it has dried completely.

Reassembling the Halo Bassinest
Following the cleaning and drying of the fabric:
-
Insert the cardboard insert again.
-
Connect the plastic connectors again.
-
Reposition the metal bars as needed.
-
Panels with Velcro should be secured.
-
Install the screws and white plastic component again.
-
Attach the side plastic pieces again.
-
Make sure all six screws are tightened on the metal base at the bottom.
Make sure all screws are securely fastened before using the bassinet again.
FAQs
Is It Safe to Use a Second-Hand Halo Bassinet?
Halo bassinets that are in good condition, have all original parts, and meet current safety standards can be considered safe. The mattress pad or waterproof cover usually needs to be replaced when using a pre-owned bassinet for added comfort.
Can the Halo Bassinet Mattress Be Washed?
It is not recommended to machine wash or soak the mattress foam core. Mattresses for Halo bassinets are usually intended for spot cleaning; removable covers can be cleaned according to the manufacturer’s directions.
Does a Halo Bassinet Need a Waterproof Cover?
Although it is not required, it is highly recommended that you use a waterproof cover. Waterproof mattress protectors keep bassinet mattresses protected from spills, spit-up, diaper leaks, and odors. BassiNest mattresses can be protected with a protective cover from Halo that creates a waterproof barrier and fits snugly.
Can You Replace the Halo Bassinet Mattress?
Halo bassinet mattresses can be replaced if they become damaged, worn out, or if you purchase a second-hand bassinet and would like a different sleep surface. HALO and third-party manufacturers are both able to replace Halo BassiNest mattresses and mattress pads with new ones.
How Long Do Halo Bassinets Last?
A Halo bassinet is typically used in the first few months after a baby is born. The age at which HALO should be discontinued for a baby is 20 pounds (9 kg), when he or she starts moving around on his or her hands and knees or when he or she reaches approximately 5 months old. When your baby reaches that age, they should transition into a crib or another sleep space appropriate for their age.
Conclusions
You may think cleaning your Halo Bassinest will be difficult, but once you know where the screws and support parts are, you’ll be able to do it easily. It is easy to maintain a clean, comfortable, and fresh sleeping environment for your baby by removing the fabric, washing it, and reassembling the frame after each use.